


Effective wire management is one of those things that doesn’t get enough attention, yet it’s the difference between a solar farm that just runs and one that runs well. When cables are actually organized, protected, and supported the way they should be, you’ll see fewer faults, lower maintenance headaches, and less downtime. Better wire management isn’t just a technicality—it’s a direct lever on total cost of ownership, cutting labor, replacement, and downtime costs throughout the project’s lifecycle.
Most of us in procurement or project planning spend hours debating panel specs or inverter topology, but honestly, the way you route and secure cables can move the needle on both performance and profit. Messy wiring? That’s a recipe for energy losses, safety issues, and components wearing out faster than they should—problems that quietly eat into your long-term ROI.
If you dig into the dollars and cents, it’s clear: small choices in cable routing, material selection, and support systems can add up to real savings. Optimizing cable routing and support infrastructure isn’t just about neatness—it’s about squeezing every bit of value from your capex and keeping opex predictable.
Direct Impact of Wire Management on Solar Farm Costs
Wire management has a surprisingly big influence on the financial side of solar farm operations. If you get it right—routing, supporting, and protecting PV wire from day one—you’ll see lower construction costs, fewer failures, and assets that last longer.
Reducing Installation and Labor Expenses
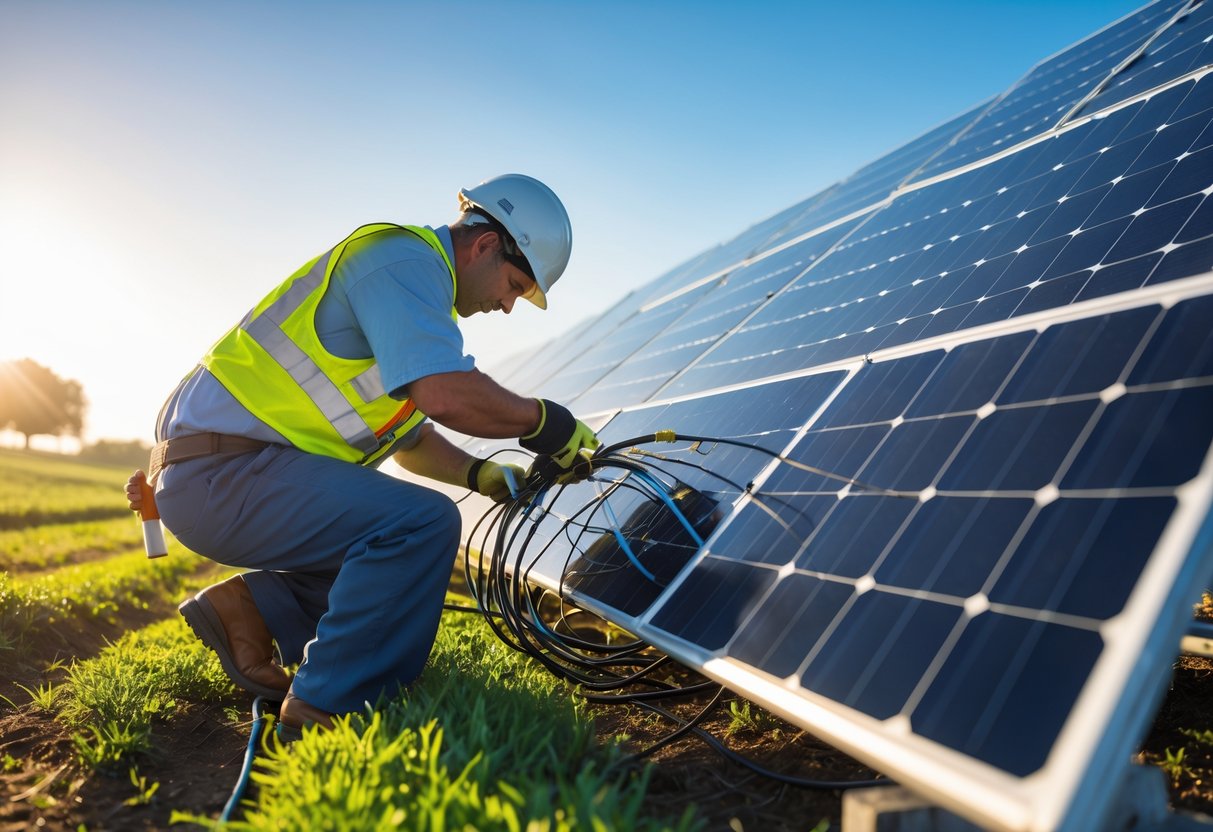
Let’s be honest: installation labor is one of the biggest line items. If your cable routing is efficient and you’ve actually picked the right components, crews spend less time improvising and more time getting it done right the first time. Pre-planned wire paths mean fewer mistakes, less rework, and more consistent results.
Things like tool-free clips, preassembled harnesses, and integrated grounding aren’t just for show—they cut out steps during assembly, reduce the number of fasteners, and minimize the hours spent wrangling conductors along racking.
Estimates I’ve seen (and lived through) say that structured wire layouts can trim installation labor by 10–20% depending on site complexity. On a utility-scale project, that’s real money and a faster path to commercial operation. Plus, following NEC Article 690 from the start keeps you out of trouble with inspectors—no one wants to pay for corrections after the fact.
Minimizing Maintenance and Repair Needs
Wire management isn’t just about the install. It’s a big deal for ongoing maintenance budgets, too. Poorly supported or exposed PV wires are magnets for UV damage, abrasion, and connector strain—all leading to outages and unplanned replacements.
If you use UV-stabilized clips, stainless-steel fasteners, and protected junction boxes, you’re way less likely to see insulation failures or arc faults. Keeping regular spacing and secure attachment points is huge for preventing sagging or wires rubbing on sharp metal.
And when cable routing is actually documented and labeled, troubleshooting is a breeze. Techs can zero in on faults quickly instead of playing hide-and-seek with the wiring. These practices shave annual maintenance costs by a few percent, which really adds up across a big portfolio.
Enhancing System Longevity and Reliability
Long-term reliability? It’s all about consistency and code compliance. If you’re supporting cables properly, you’re reducing thermal cycling stress and letting the system flex with temperature swings—no cracked insulation or surprise failures.
Choosing high-quality materials—think 316 stainless steel or UV-tested polymers—means your cable supports last as long as your modules and inverters (25+ years, if you’re lucky). No one wants a cable tray failing before the panels do.
When wiring is reliable, outages are rare, energy output is steady, and you avoid those nasty budget surprises. From an owner’s perspective, that’s exactly how you keep total cost of ownership in check and maximize asset value.
Key Strategies and Components for Effective Solar Wire Management
If you want solar wire management that actually works, you’ve got to nail the basics: durable components, smart installation, and real-world protection against weather and critters. The right materials and designs save you on maintenance, extend service life, and keep you in compliance with all those codes and standards.
Selecting the Right Cable Management Solutions
Picking cable management solutions isn’t one-size-fits-all. For utility-scale sites, stainless steel and UV-stabilized polymers are the workhorses—they hold up to heat, wind, and relentless UV.
A quick rundown on typical materials:
| Component Type | Common Material | Service Life | Typical Use |
|---|---|---|---|
| Cable clips | Stainless steel 304/316 | 25+ years | Harsh environments |
| Plastic clips | UV-stabilized Nylon 12 | 20–25 years | Rooftop or agrivoltaic systems |
| Cable trays | Aluminum or galvanized steel | 25+ years | Utility-scale arrays |
Sometimes, messenger wire systems are the only way to go for overhead routing, especially where ground conduits just aren’t practical. Keeps cables out of the mud and away from hungry critters or farm equipment.
Role of S Clips, Cable Ties, and Cable Tray Systems
S clips are a staple—they keep PV wires snug to module frames or racking rails, off hot or wet surfaces, and prevent abrasion. Always double-check compatibility with your module supplier to ensure you’re not voiding warranties or missing out on electrical bonding.
Cable ties are everywhere, but not all are created equal. We use UV-resistant nylon or coated stainless steel ties with outdoor ratings. Releasable ties are a lifesaver for maintenance—no more snipping and tossing every time you need to rework a section.
Cable tray systems are the backbone for bigger cable runs between arrays, inverters, and combiner boxes. Aluminum trays or Snake Tray–style systems go up fast and shield conductors from wind, debris, and accidental damage. In agrivoltaic setups, elevating trays and hangers is a must to keep things clear for crops and livestock.
If you’re serious about squeezing every cent from your solar investment, wire management isn’t the place to cut corners. The choices you make here ripple through the entire project—sometimes for decades.
Best Practices for Routing and Securing PV Wire
When laying out PV wire, I’m always thinking about how to keep it out of trouble—no unnecessary stress, nothing getting pinched, and definitely steering clear of sharp edges. That bend radius? It matters. I usually stick with at least eight times the cable diameter. Any tighter and you’re asking for conductor fatigue, which nobody wants to deal with down the line.
For horizontal runs, securing cables every 4–6 feet is the sweet spot. If you let them sag, you’ll regret it later. And with temperature swings—especially on a big rooftop or ground mount—you’ve got to allow for some movement. Service loops or a little extra slack in the right places can save you from a lot of headaches when things expand or contract.
Labeling and keeping circuits separated per NEC 690 is non-negotiable. Trust me, when you’re out in the field trying to track down a ground fault, you’ll be glad everything’s marked and separated. After storms or those classic high-wind days, I like to walk the site and check that all the clips, ties, and trays are still holding up and not starting to corrode. It’s a bit of a ritual, but it pays off.


